|
The process of animating the chase scene can be demonstrated through the following video. There were different stages for each shot's creation: 1-Animatic/Layout 2-Rough animation 3-Clean-up outlines 4-Color 5-Form shadow 6-Cast shadow and details
0 Comments
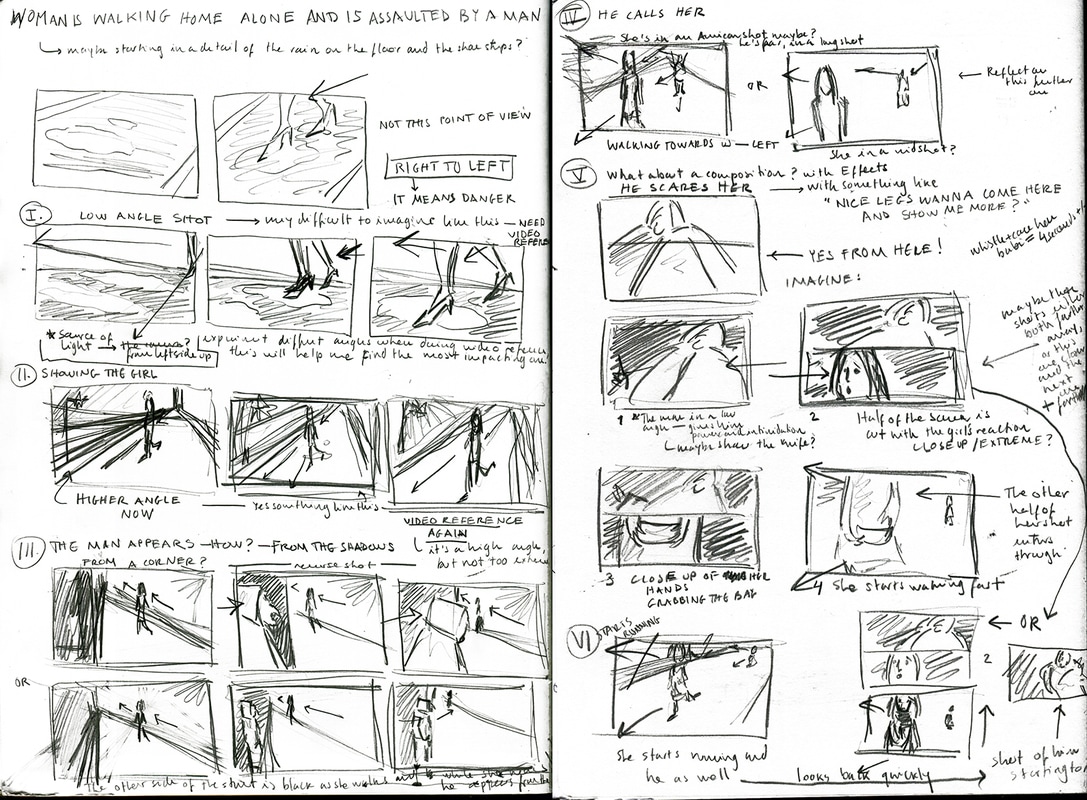
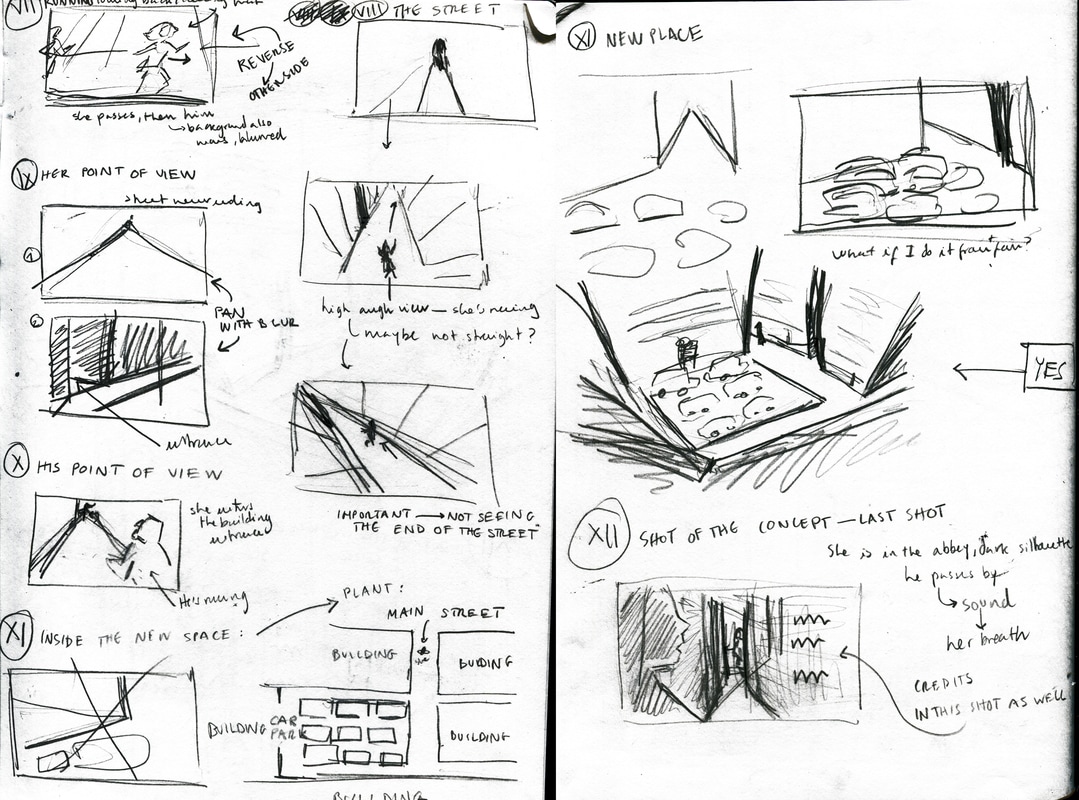
For the chase scene's storyboard and animatic I had to shoot some live footage, understanding the perspective for the composition of each shot. I started by doing a rough sketched storyboard, comparing ideas:
Using this storyboard as reference, I recorded my colleagues walking/running, to understand the perspective constraints. A good example of how I solved this is the transition between shot 1 and 2: Storyboard: Animatic: To get more comfortable with the Animatic process before doing the animatic for the final project, I decided to experiment creating an animatic for a scene of Disney's "The Hunchback of Notre Dame". For the pull exercise we had to do stop-motion animation and learn how to build puppets. The making of a puppet was really interesting and enjoyable, even though I didn't use it in the final animation. 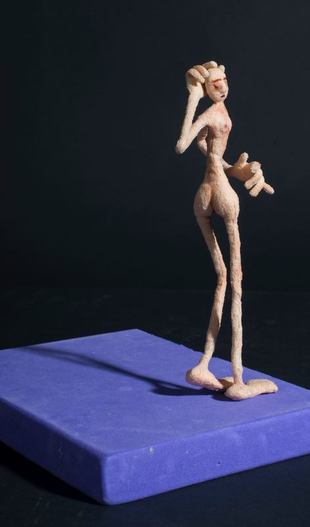 For the pull, I watched some reference footage and sketched from life, making notes of timings. 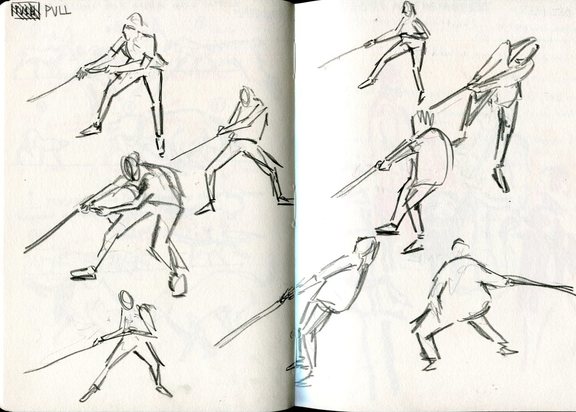 Final animation: Animating a push action while learning the Maya software was really difficult. Therefore, I struggled with this assignment more than the rest. Nevertheless, I have done my best within my constraints. Before animating I studied the action, breaking down a few key positions and timings. Final animation: |
Semester 2Animation BA Level 1 Explore:
All
Archives |
 RSS Feed
